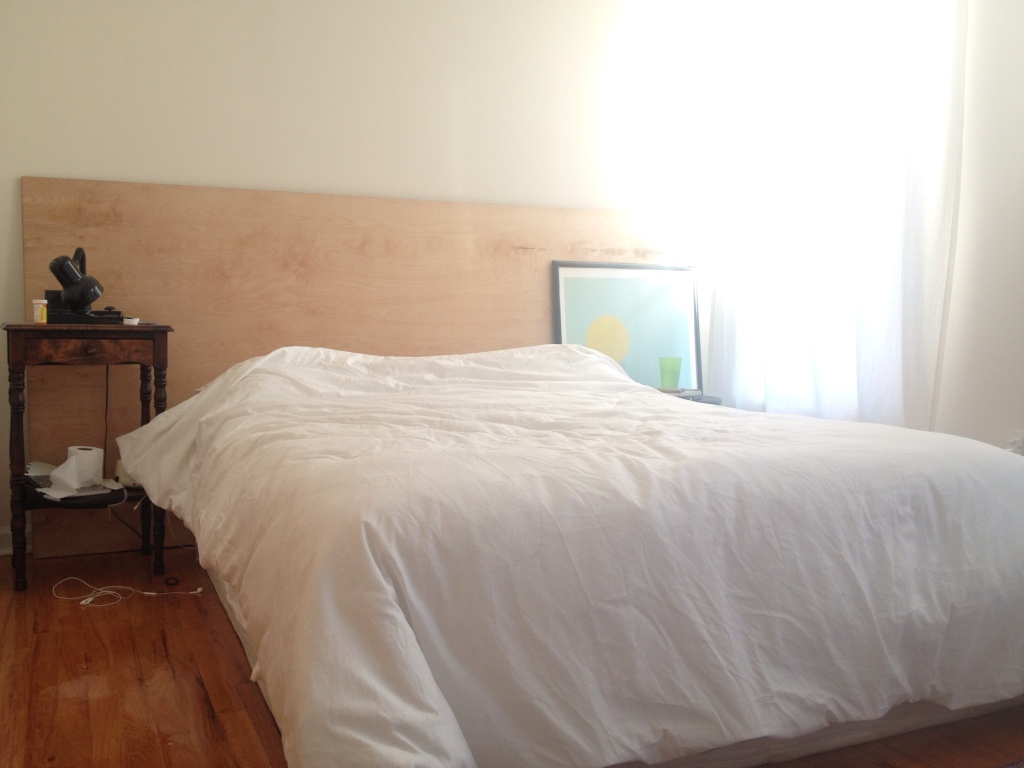
Our headboard was making me sad. On sunny weekend days it looked fine, but every night it made our white sheets look grungy, our walls look yellow, and just made our whole room look odd.
As soon as Sam’s finals were over (I never took the LSAT or applied for Law School, and yet, law school finals take over my life every six months), I practically ran to Home Depot to get tape and paint. After shoving my inspiration photos in Sam’s face every night for about five days to make sure he was onboard (he’s been known to say, go ahead darling, I trust you! and then hate the final product before), I got to work.
Sam suggested a herringbone pattern, which was pure brilliance. In an ideal world where I have a saw in my house, I would’ve gone totally nuts on this project and done an actual wood herringbone design by staining pieces of two by fours to varying degrees, cutting them down, and nailing/using woodglue to adhere them to the plywood. But those living in a city that charges 46 cents a cut must learn to do without a magnificent wooden herringbone headboard. So instead we went with paint.
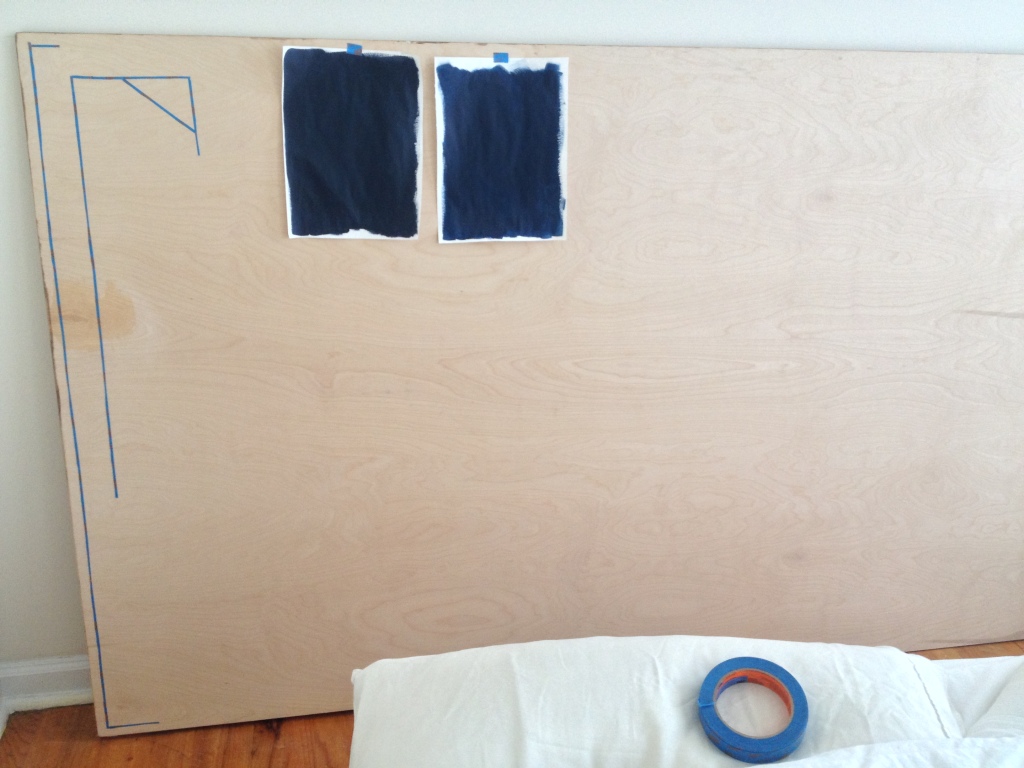
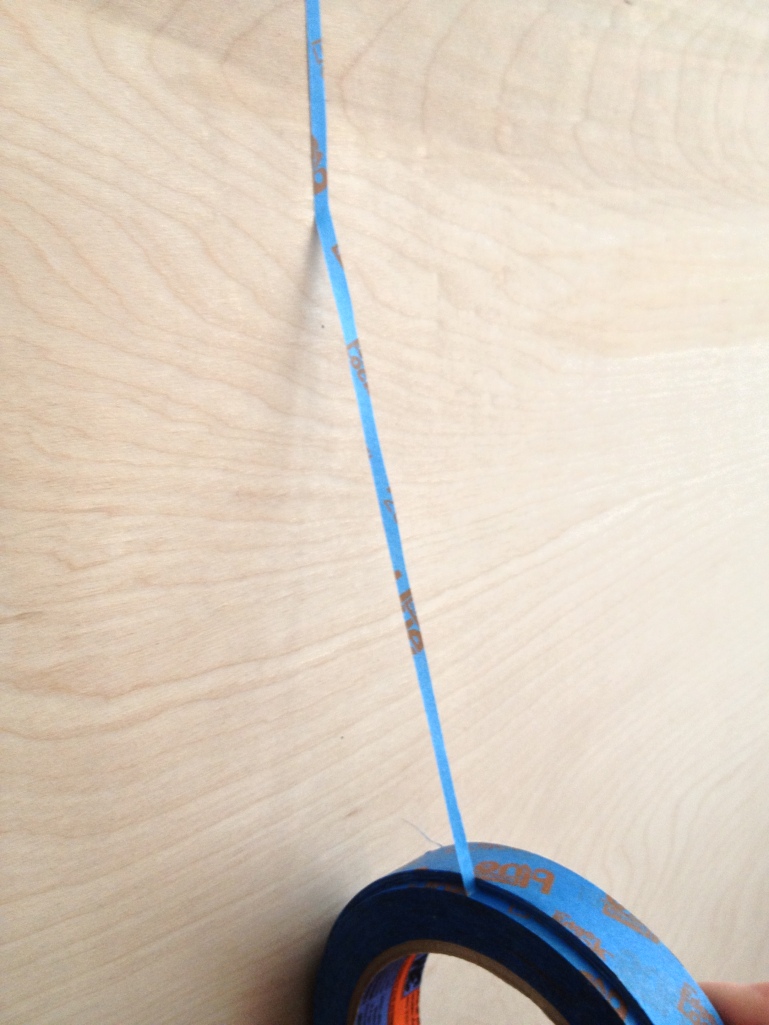
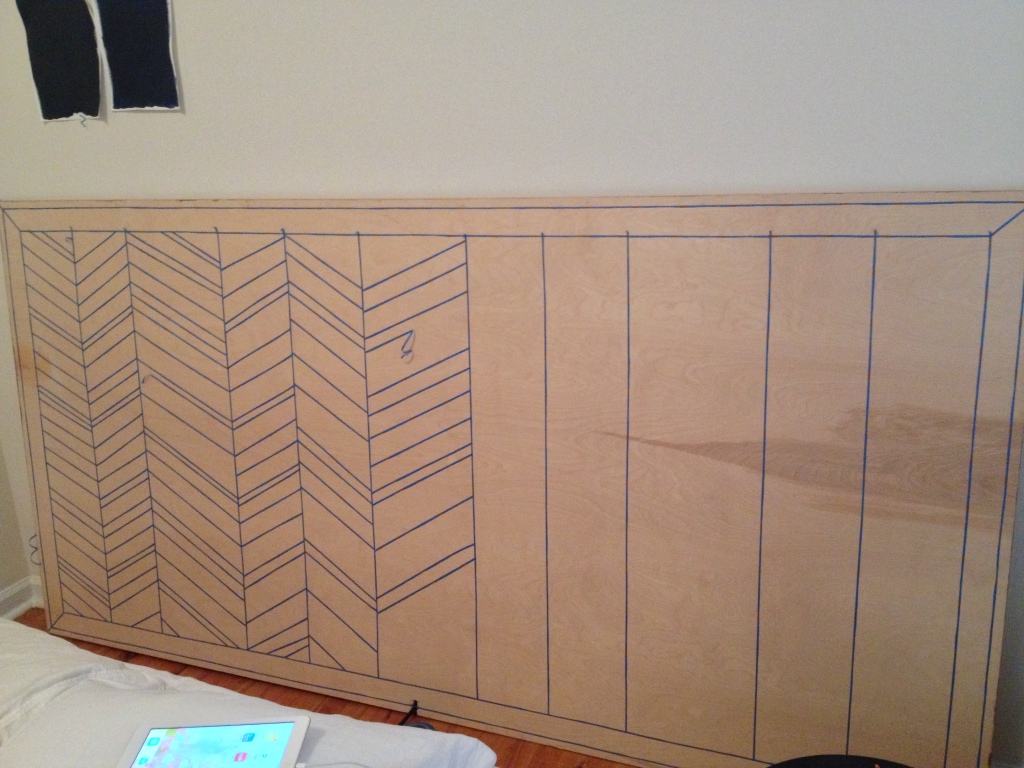
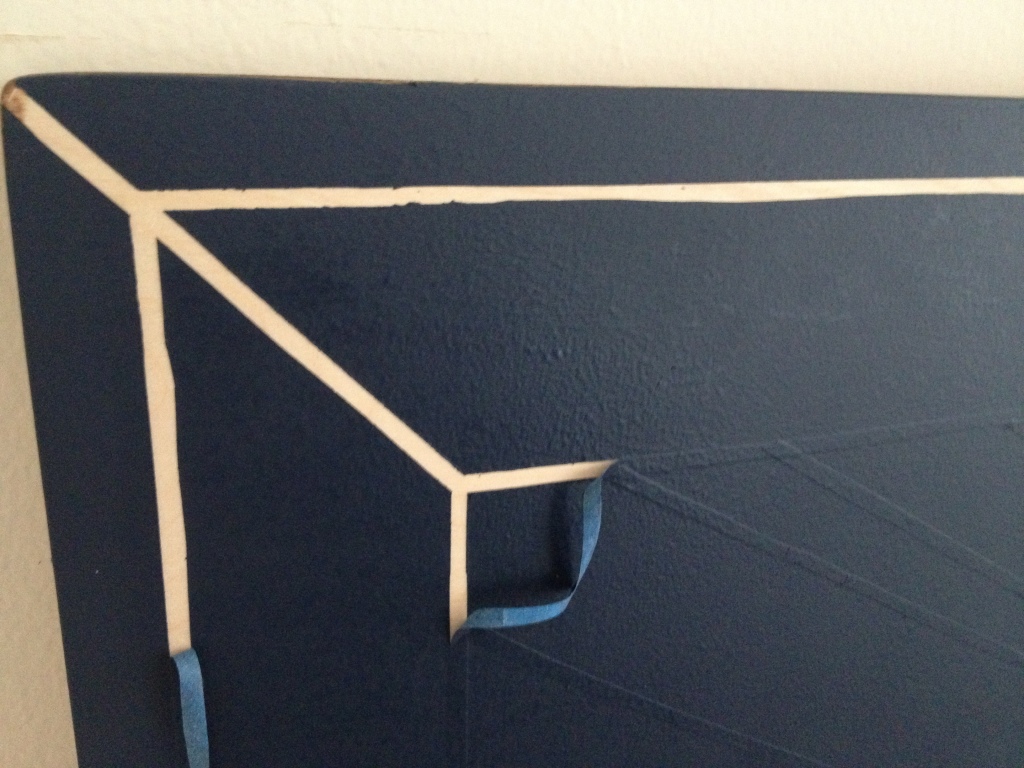
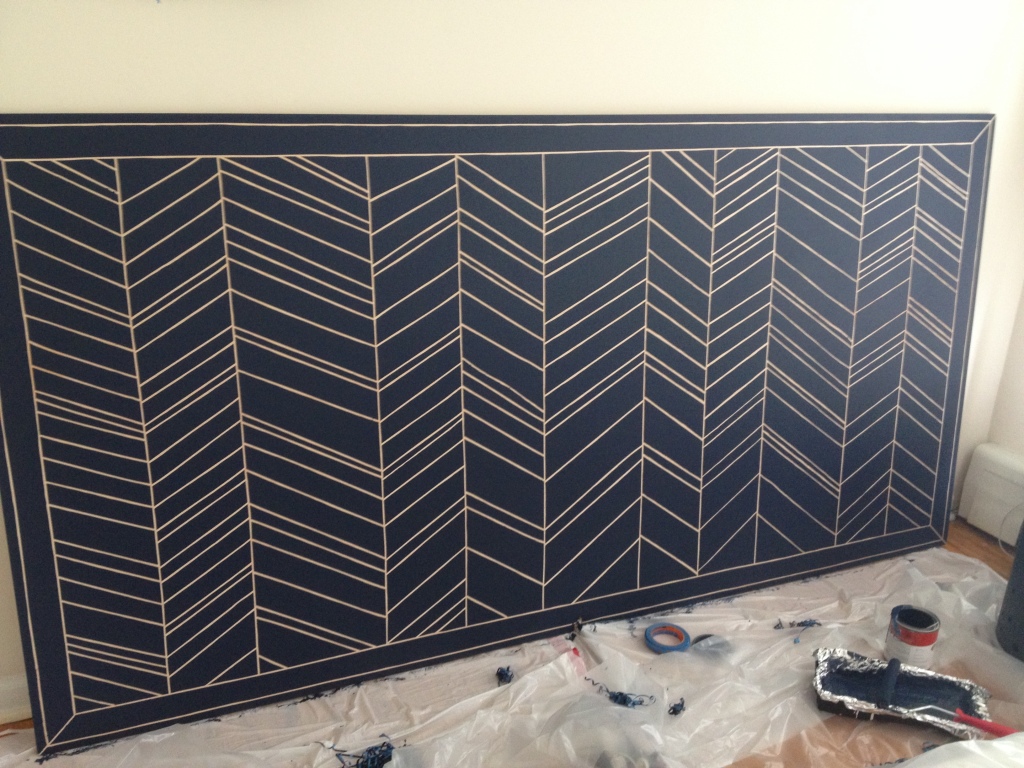
I wanted to include some kind of border around the edge of the herringbone pattern, thinking it would look weird and unfinished if the pattern went all the way to the edge of the plywood, so I mimicked a typical herringbone floor. The outermost tape was about 3/4 of an inch from the edge and the innermost tape was about 3 inches. To keep it even, I measured 3/4 of an inch and 3 inches from the edge every 8 inches or so and made a teeny mark with a pencil, which I used as a guide when applying the tape. To get the tiny strips of tape, I used an X-Acto Knife to cut along the edge of my tape, leaving it on the spool for stability as I taped.
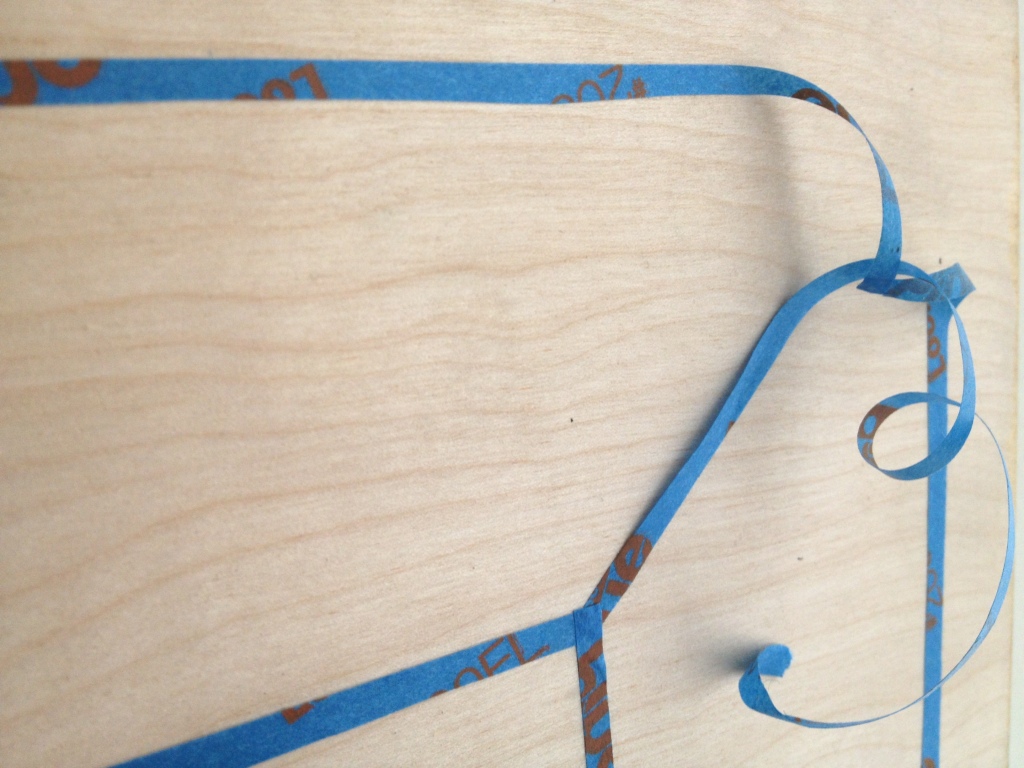
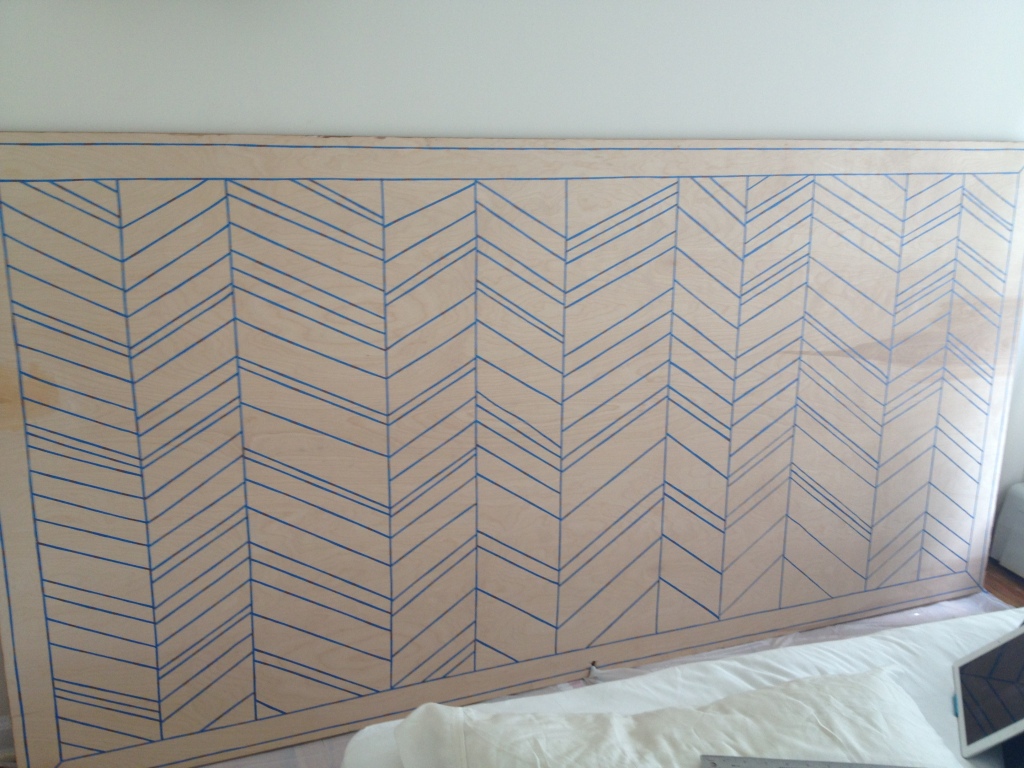
The one thing I worried about was how I was going to get the tape off when the paint was still not quite dry without smudging everything, so I made sure these diagonal pieces of tape going to the corners from the borders went under the border lines. That way, I could pull up the tape from the corner and start pulling up the rest of the tape in the process. At least, that was the goal.
 I copied my inspiration photo when it came to spacing between the dividing lines, as well. A pattern of two narrow sections, one wide, with the narrow sections about 7 inches in width and the wider sections about 10 inches. I didn’t worry too much about being precise.
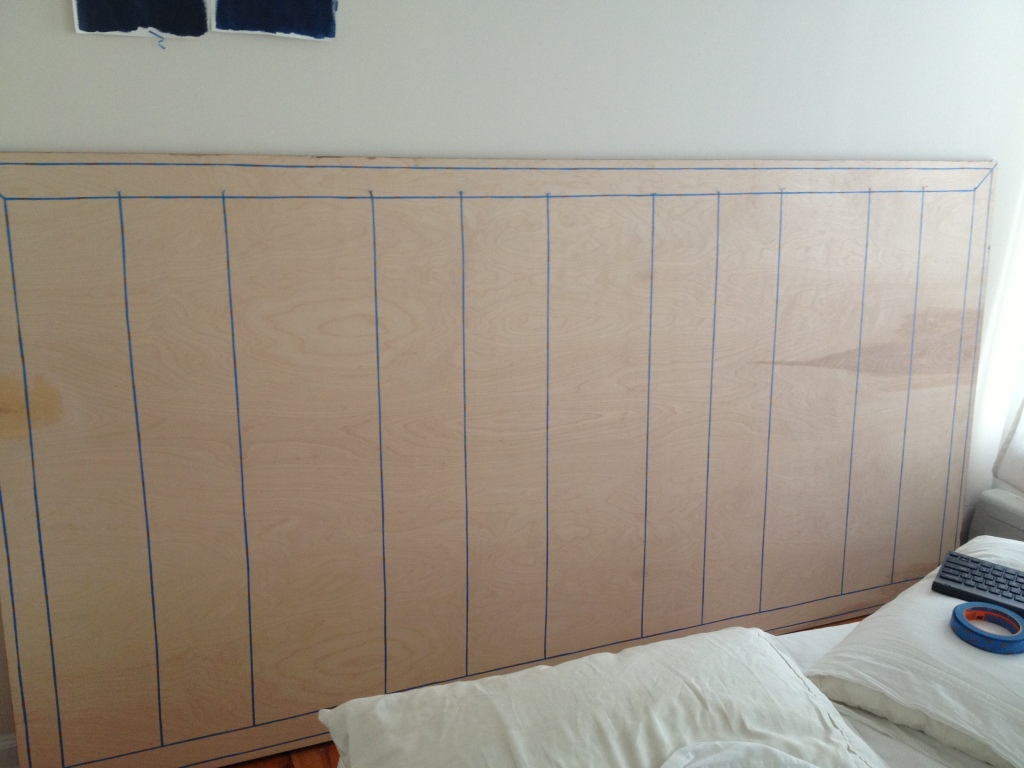 Next I started taping the herringbone! I reasoned I could always paint over some of the lines if there were too many, but I wouldn’t be able to recover the wood if it looked too sparse, so I went a little crazy with the tape.
Before painting, I carefully went over every single piece of tape with one of Sam’s plastic collar stays – the rounded edge made it perfect for pressing down the tape. I also made sure to press the edges where the tape overlapped really well to make sure there was absolutely no space where paint could seep through.
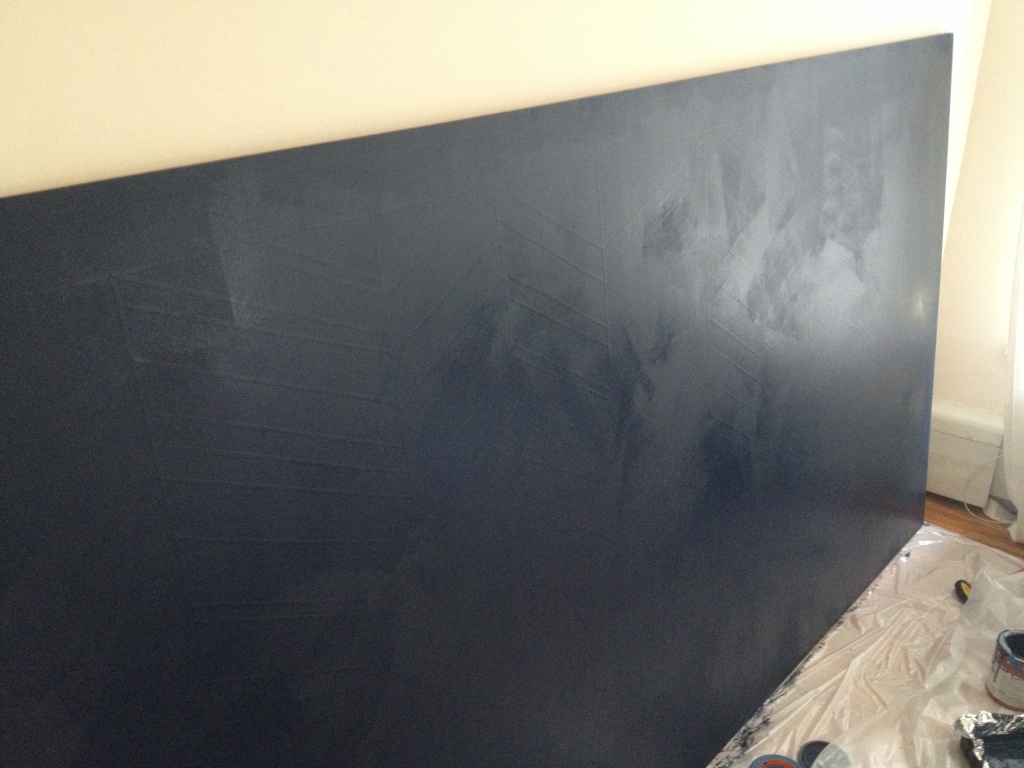
Then I painted using my trusty roller! I used about 2/3 of a quart of paint for this 4×8 piece of plywood.
I started pulling off the tape almost immediately after my second coat.
SOB. IT WORKED. The corner tape thing worked as well, making it easy to pull up the rest of the tape.
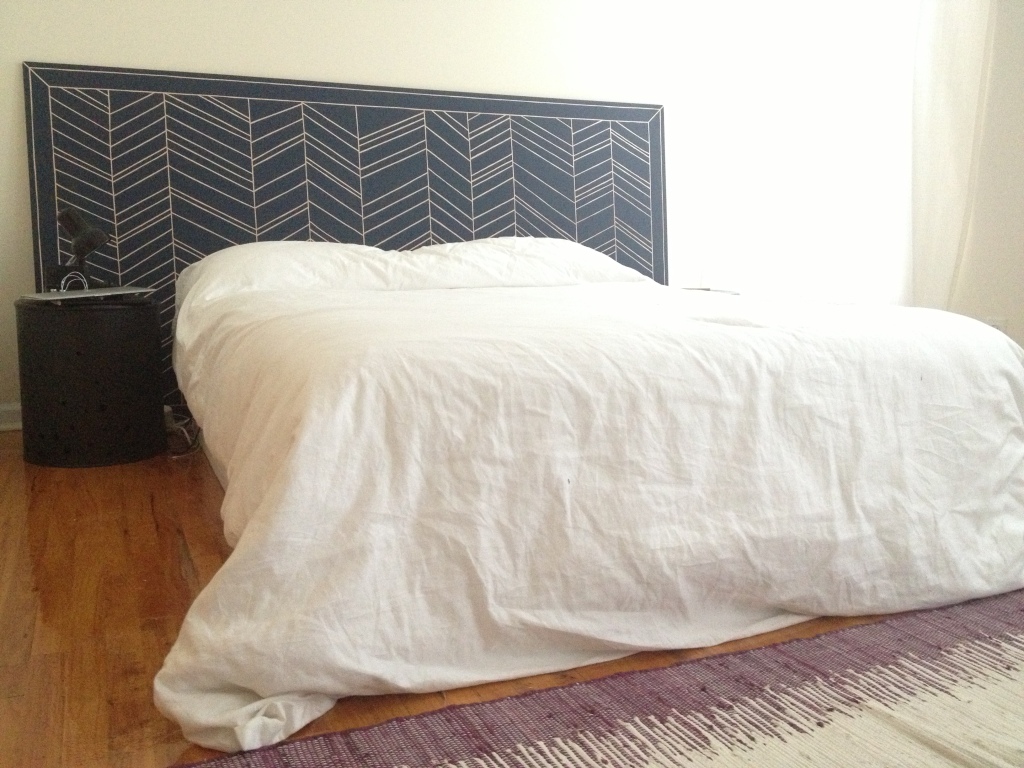
SIGH. OF. RELIEF. After the let down that was the last headboard reveal, this made me SO incredibly happy.
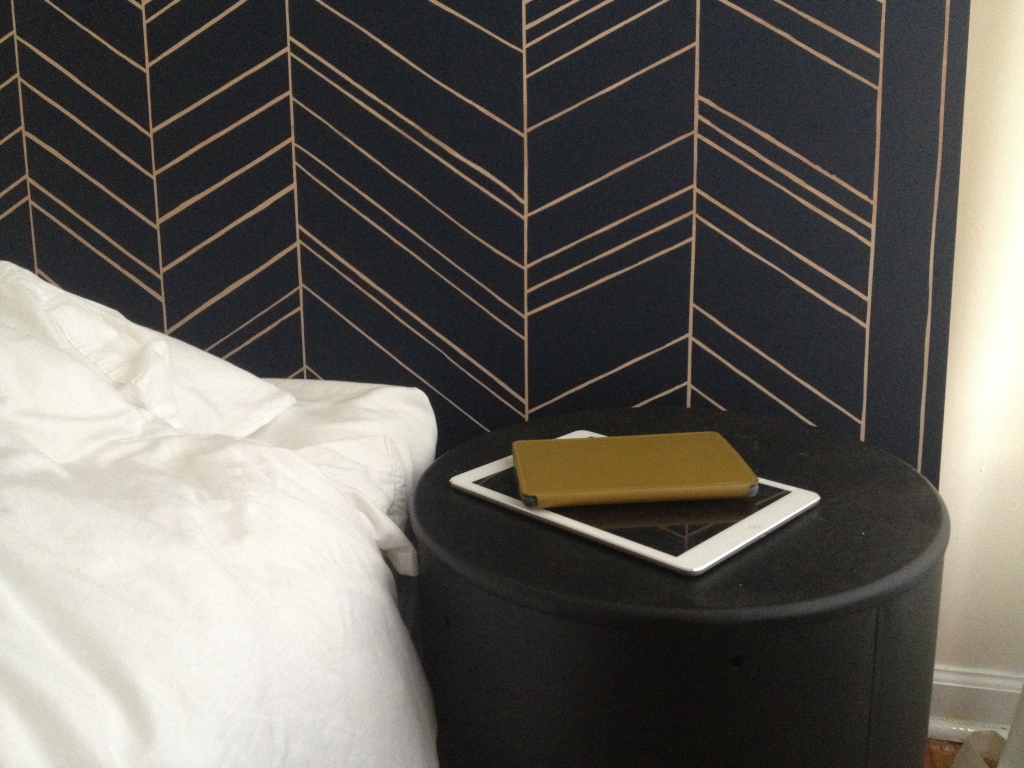
The color balances out our room so well, mirroring the depth of our dresser color across the room. I love it. I LOVE it.
And with our side table nightstands from Target, the whole thing looks like an actual intentional bed. Where people sleep on purpose.
Supplies:
1 quart Starless Night paint in flat by Behr (straight up stolen from this post from The Kitchn)
1 roll painter’s tape
X-Acto Knife
Paint roller and tray
Plastic sheet
Ruler
Pencil
1 piece of 1″ thick 4’x8′ plywood
Approximately 1.5 seasons of Scandal on Netflix

You, my girl, are brilliant! I love this! The way you figure out what to do is just awesome!
LikeLike
B, this looks so awesome!
LikeLike
Thank you!!
LikeLike